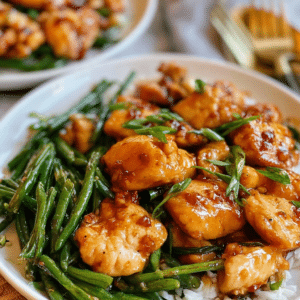
We all need that one go‑to chicken recipe—the one that’s so reliable, so consistently delicious, you can make it without thinking. A recipe that turns a plain chicken breast into something juicy, flavorful, and satisfying in the time it takes to boil pasta or steam vegetables. This is that recipe.
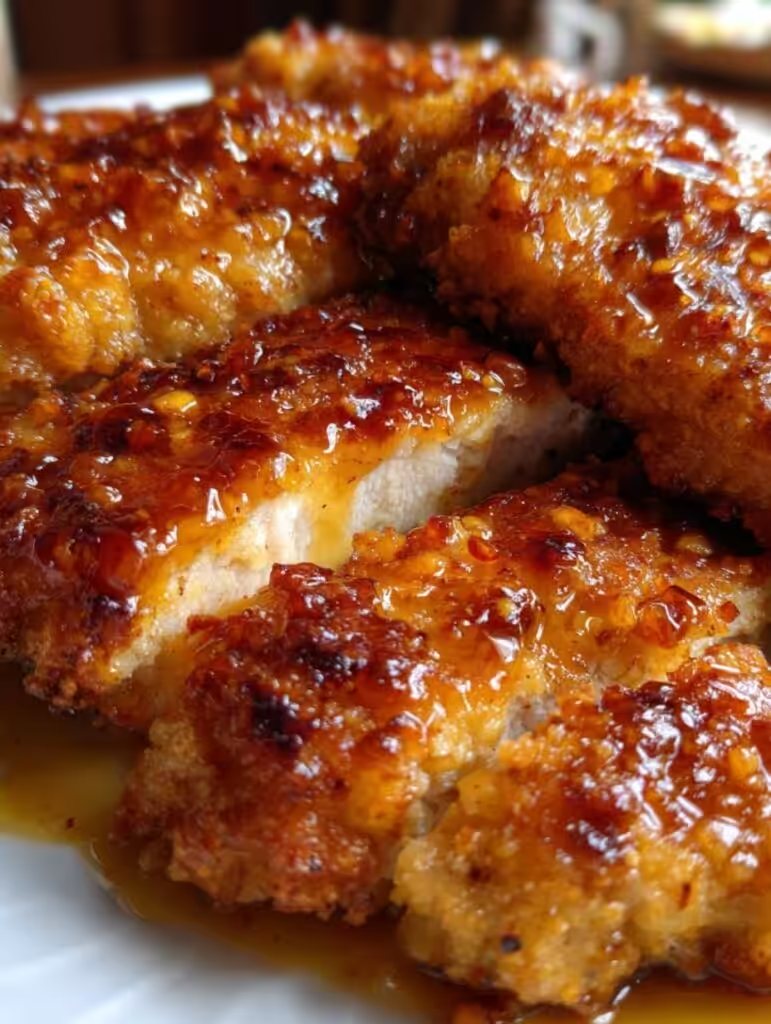
The perfect simple & fast chicken breast recipe is built on a handful of techniques that guarantee tender, golden‑browned chicken every time, without fussy ingredients or complicated steps. Whether you’re meal‑prepping for the week, feeding a hungry family on a busy Tuesday, or just craving a wholesome dinner that comes together in under 20 minutes, this method delivers.
What makes this recipe truly special is its versatility. Once you master the basic technique, you can transform it with different seasonings, serve it with any side dish, or use it as the foundation for pastas, salads, sandwiches, and more. It’s the kind of recipe you’ll return to again and again—because it just works.
Let me show you how.
Why This Recipe Is the One You’ll Keep Coming Back To
The beauty of this simple chicken breast recipe lies in its simplicity—but don’t confuse simple with basic. Every step serves a purpose, and together they create a result that’s far greater than the sum of its parts.
Juiciness Without Brining
Most people assume you need a lengthy brine or marinade to keep chicken breast moist. While those techniques help, they’re not essential when you use proper cooking methods. By pounding the chicken to an even thickness and cooking it over medium‑high heat just until it reaches 165°F, you lock in natural juices without any advance preparation.
Golden Crust, Tender Interior
The high heat of a well‑heated skillet creates the Maillard reaction—a chemical process that browns the exterior and develops deep, savory flavor. This crust not only tastes amazing but also helps seal moisture inside. Pair that with a quick finish in the oven (or simply resting under foil), and you have chicken that’s beautifully caramelized on the outside and tender throughout.
Minimal Ingredients, Maximum Flavor
You don’t need a long list of spices or a complicated sauce to make chicken breast shine. High‑quality olive oil, salt, pepper, and perhaps a few pantry seasonings are all it takes. When the technique is right, the chicken speaks for itself.
Ingredients: Simple, Accessible, Essential
- 4 boneless, skinless chicken breasts (6–8 ounces each)
Look for breasts that are similar in size; if some are much thicker, you’ll need to adjust cooking times or pound them. - 2 tablespoons olive oil (or avocado oil for higher smoke point)
Good oil is important—it affects browning and flavor. - 1 teaspoon kosher salt (or ½ teaspoon fine sea salt)
Kosher salt dissolves well and seasons evenly. - ½ teaspoon black pepper, freshly ground
- Optional seasonings: garlic powder, onion powder, paprika, dried herbs (oregano, thyme, rosemary)
Add these to the chicken before cooking for extra flavor.
Step-by-Step Instructions
1. Prep the Chicken
Remove the chicken from the refrigerator 15–20 minutes before cooking to take the chill off. Pat each breast completely dry with paper towels. Moisture is the enemy of browning—this step ensures you get a good sear.
2. Pound to Even Thickness
Place a chicken breast between two sheets of plastic wrap or parchment paper. Use a meat mallet, rolling pin, or even the bottom of a heavy skillet to gently pound the thicker end until the entire breast is a uniform ½‑ to ¾‑inch thickness. This ensures the chicken cooks evenly from edge to edge.
3. Season Generously
Sprinkle both sides of each breast with salt, pepper, and any optional seasonings you’re using. Press lightly so the seasonings adhere.
4. Heat the Skillet
Place a large skillet (stainless steel or cast iron works best) over medium‑high heat. Add the olive oil and let it heat until it shimmers and flows easily when you tilt the pan—this usually takes about 2 minutes. You want the pan hot enough to sizzle the chicken immediately upon contact.
5. Sear the Chicken
Carefully place the chicken breasts in the skillet in a single layer. Do not crowd the pan; if necessary, cook in batches. Let the chicken cook undisturbed for 5–6 minutes. Resist the urge to move or peek—the crust needs time to form.
6. Flip and Finish
Using tongs, flip the chicken. Continue cooking for another 4–6 minutes, depending on thickness. The chicken is done when an instant‑read thermometer inserted into the thickest part reads 165°F (74°C). For thinner breasts (½ inch), total cooking time may be as little as 8–10 minutes; for thicker ones, closer to 12 minutes.
7. Rest Before Slicing
Transfer the chicken to a clean cutting board or platter. Tent loosely with foil and let rest for 5 minutes. This resting period allows the juices to redistribute throughout the meat—skip this step, and those juices will end up on your plate instead of in your chicken.
8. Serve or Store
Slice against the grain or serve whole. Use immediately or cool completely for storage.
The Science of a Perfect Sear
That golden‑brown crust isn’t just about looks—it’s packed with flavor. When chicken meat hits a hot skillet, amino acids and natural sugars react in what’s called the Maillard reaction. This process creates hundreds of new flavor compounds that give seared chicken its savory, slightly nutty taste.
To achieve this:
- Dry the surface thoroughly—moisture turns to steam, preventing browning.
- Use enough oil—it conducts heat evenly and prevents sticking.
- Don’t overcrowd—too much chicken lowers the pan temperature and causes steaming instead of searing.
- Leave it alone—moving the chicken prematurely disrupts crust formation.
Flavor Variations: 5 Ways to Change It Up
Once you’ve mastered the basic method, you can easily adapt it to suit any craving.
Lemon Herb
- Add 1 tablespoon fresh lemon juice to the skillet during the last minute of cooking.
- Garnish with fresh parsley and lemon zest.
Garlic Butter
- During the last 2 minutes of cooking, add 2 tablespoons butter and 3 minced garlic cloves to the skillet. Tilt the pan and spoon the garlic butter over the chicken until melted and fragrant.
Smoky Paprika
- Mix 1 teaspoon smoked paprika, ½ teaspoon garlic powder, and ¼ teaspoon cayenne (optional) into the salt and pepper before seasoning.
Italian
- Combine 1 tablespoon Italian seasoning with the salt and pepper. Finish with a sprinkle of Parmesan cheese.
Honey Mustard Glaze
- Whisk together 2 tablespoons honey, 1 tablespoon Dijon mustard, and 1 teaspoon apple cider vinegar. Brush onto the chicken during the last 2 minutes of cooking, flipping once to glaze both sides.
Substitutions for Dietary Needs
This recipe is naturally adaptable to many dietary requirements.
- Gluten‑Free: No modifications needed—all ingredients are naturally gluten‑free.
- Dairy‑Free: All variations are dairy‑free except Garlic Butter; simply omit butter or use a dairy‑free alternative.
- Low‑Sodium: Reduce or eliminate salt; use fresh herbs, citrus, and garlic for flavor.
- Nut‑Free: No nuts are used. If using pre‑mixed seasonings, check labels for cross‑contamination.
- Paleo / Whole30: Use avocado oil instead of olive oil if preferred, and skip any sweeteners.
Serving Ideas
This simple chicken breast pairs beautifully with almost anything. Here are a few of my favorite combinations:
- With roasted vegetables: Toss broccoli, asparagus, or Brussels sprouts with olive oil, salt, and pepper, and roast alongside the chicken (add to the oven after searing).
- Over a salad: Slice the chicken and serve over mixed greens with your favorite vinaigrette.
- With grains: Serve over rice, quinoa, or couscous, topped with a drizzle of pan juices.
- In a sandwich: Slice and layer on crusty bread with lettuce, tomato, and a smear of pesto or mayo.
- With pasta: Slice and toss with your favorite pasta, olive oil, and fresh herbs.
Meal Prep and Storage
Refrigerator
- Store cooked chicken in an airtight container for up to 4 days.
Freezer
- Place cooled chicken in a freezer‑safe bag or wrap individually in plastic wrap, then foil. Freeze for up to 3 months. Thaw overnight in the refrigerator.
Reheating
- Skillet: Add a splash of broth or water, cover, and warm over medium‑low heat until heated through (about 4–5 minutes).
- Oven: Place chicken in a baking dish, cover with foil, and warm at 325°F for 10–12 minutes.
- Microwave: Use 50% power in 30‑second bursts to avoid overcooking.
Frequently Asked Questions
How do I know when chicken breast is cooked without a thermometer?
While a thermometer is the most reliable method, you can also look for firmness to the touch and clear juices. However, visual cues can be misleading—I highly recommend investing in an instant‑read thermometer for perfect results every time.
Can I use this method for bone‑in chicken breasts?
Bone‑in breasts require a different approach because they’re thicker and take longer to cook. For bone‑in, use a lower oven temperature and roast for about 35–40 minutes.
Why is my chicken sticking to the pan?
The pan may not be hot enough, or the chicken wasn’t dried thoroughly. Ensure the oil is shimmering before adding the chicken, and let it sear undisturbed—it will naturally release when a crust has formed.
What if I don’t have a meat mallet?
Use a rolling pin, a heavy skillet, or even the bottom of a sturdy glass bottle. Place the chicken between plastic wrap to protect it.
Can I cook this in the oven instead of a skillet?
Absolutely. Sear the chicken in a skillet first for 2–3 minutes per side, then transfer to a 400°F oven for 8–12 minutes until the internal temperature reaches 165°F.
Why This Recipe Belongs in Your Rotation
Life is busy, and dinner shouldn’t be a source of stress. This simple, fast chicken breast recipe removes the guesswork and gives you a reliable foundation for countless meals. Whether you’re cooking for one or feeding a family, it delivers tender, flavorful chicken every time—with no complicated techniques and no long ingredient lists.
Once you have this method down, you’ll never wonder what to make for dinner again. It’s the kind of recipe that builds confidence in the kitchen, because you know it works. And the more you make it, the more you’ll discover new ways to enjoy it.
Your Turn
I’d love to hear how this simple chicken breast recipe works for you. Did you try one of the flavor variations? Have a favorite side dish to pair with it? Drop a comment below and share your experience—your feedback helps other home cooks discover new ways to enjoy this versatile dish. And if you found this guide helpful, please consider leaving a rating to help others find this recipe.
Happy cooking!
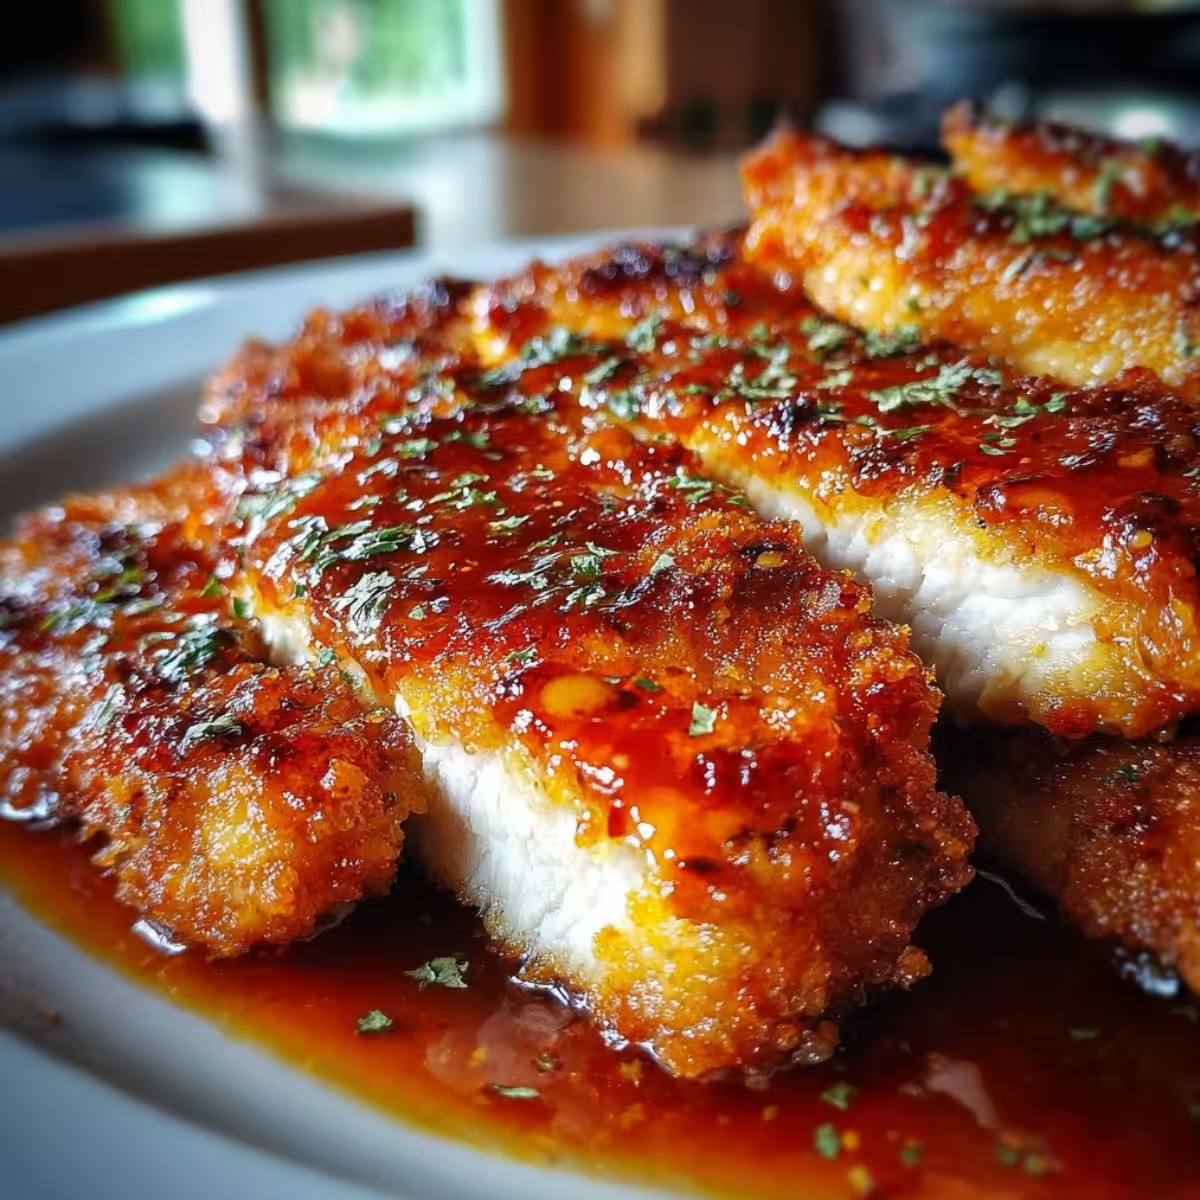

The Perfect Simple & Fast Chicken Breast Recipe
Ingredients
Equipment
Method
- Remove chicken from refrigerator 15–20 minutes before cooking. Pat dry thoroughly with paper towels.
- Place chicken between two sheets of plastic wrap or parchment. Gently pound the thicker end to an even ½‑ to ¾‑inch thickness using a meat mallet, rolling pin, or heavy skillet.
- Season both sides of each breast with salt, pepper, and any optional seasonings.
- Heat a large skillet over medium‑high heat. Add olive oil and heat until shimmering.
- Place chicken in skillet in a single layer (cook in batches if needed). Cook undisturbed for 5–6 minutes until golden brown.
- Flip chicken and cook for another 4–6 minutes, until an instant‑read thermometer inserted into the thickest part reads 165°F (74°C).
- Transfer chicken to a cutting board, tent loosely with foil, and let rest for 5 minutes before slicing or serving.