In the fast-paced world of modern meal planning, finding a recipe that bridges the gap between ‘instant convenience’ and ‘gourmet nutrition’ can feel like an impossible task. Enter the Cheesy Garlic Chicken Wrap. This isn’t just another sandwich alternative; it is a meticulously engineered, high-protein powerhouse designed for those who demand flavor without the metabolic crash of high-carb alternatives. Whether you are navigating a rigorous keto lifestyle, seeking a post-workout recovery meal, or simply need a 15-minute dinner that won’t leave you feel bloated, this recipe delivers on every front.
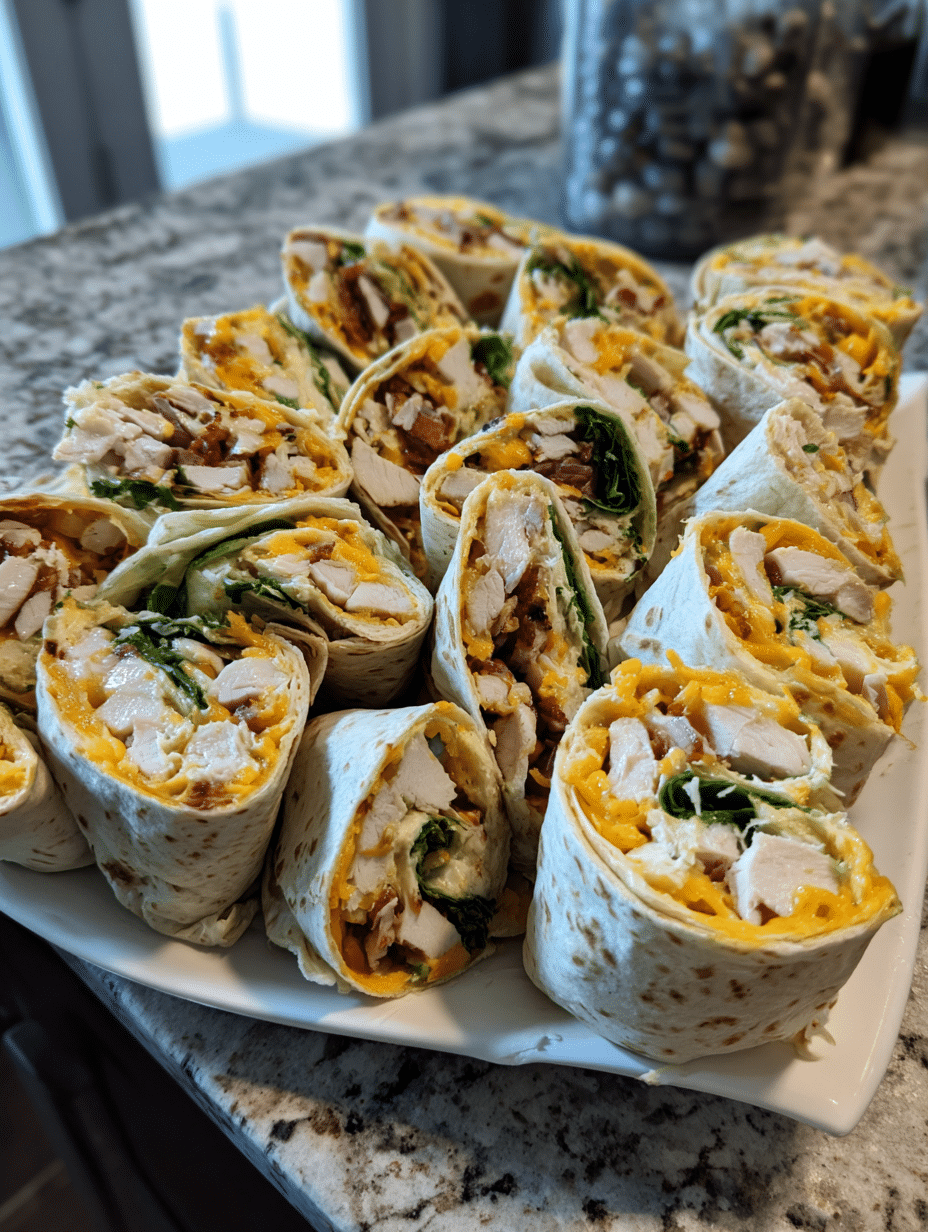
What sets this specific wrap apart is the synergy between the aromatic garlic infusion and the molten cheese barrier. By focusing on lean chicken breast and moisture-wicking low-carb tortillas, we create a handheld meal that maintains structural integrity while bursting with savory juices. In this comprehensive guide, we will explore the science of the perfect sear, the importance of fat-to-protein ratios, and how to meal prep these wraps so they stay crispy for days.
How to Make This Recipe Keto-Friendly?
The transition from a standard wrap to a keto-friendly masterpiece lies primarily in the vessel. Traditional flour tortillas can contain upwards of 30 grams of carbohydrates, which triggers an insulin spike and halts ketosis. To make this keto-friendly, you must opt for almond flour or coconut flour-based wraps. These alternatives provide the necessary fiber to lower the net carb count to under 5 grams per serving.
Furthermore, the ‘Cheesy’ element of this wrap is your best friend in a ketogenic diet. By using high-quality whole milk mozzarella or sharp cheddar, you are introducing healthy fats that promote satiety. Remember, in low-carb cooking, fat is the lever for flavor. The garlic butter sauce—made with grass-fed butter rather than seed oils—provides the medium-chain triglycerides (MCTs) that bolster the nutritional profile of this easy lunch idea.
Why High Protein and Low Carb is the Golden Standard
From a physiological standpoint, a high-protein, low-carb lunch prevents the afternoon ‘slump.’ Protein has a higher thermic effect of food (TEF) than fats or carbs, meaning your body burns more calories just processing the chicken. When paired with garlic—a natural vasodilator—you are supporting heart health and metabolic efficiency in one single, delicious bite.
The Core Ingredients: Functional Culinary Science
- Lean Chicken Breast: The foundation of our amino acid profile. We choose breast meat for its density and ability to absorb the garlic infusion without becoming overly greasy.
- Minced Garlic: Beyond flavor, garlic contains allicin. When cooked briefly, it provides a pungent aromatic base that mimics the satisfaction of high-sodium flavor enhancers.
- Low-Carb Tortillas: Look for wraps using oat fiber or flaxseed meal. These ingredients act as ‘binders’ that provide a chewy texture similar to gluten without the inflammatory response.
- Mozzarella & Parmesan: We use a blend. Mozzarella provides the ‘pull,’ while Parmesan provides the salty, umami depth (glutamates) that makes the chicken pop.
- Greek Yogurt Garlic Sauce: A secret substitution for mayonnaise. It adds probiotics and doubling the protein content of the dressing while maintaining a creamy mouthfeel.
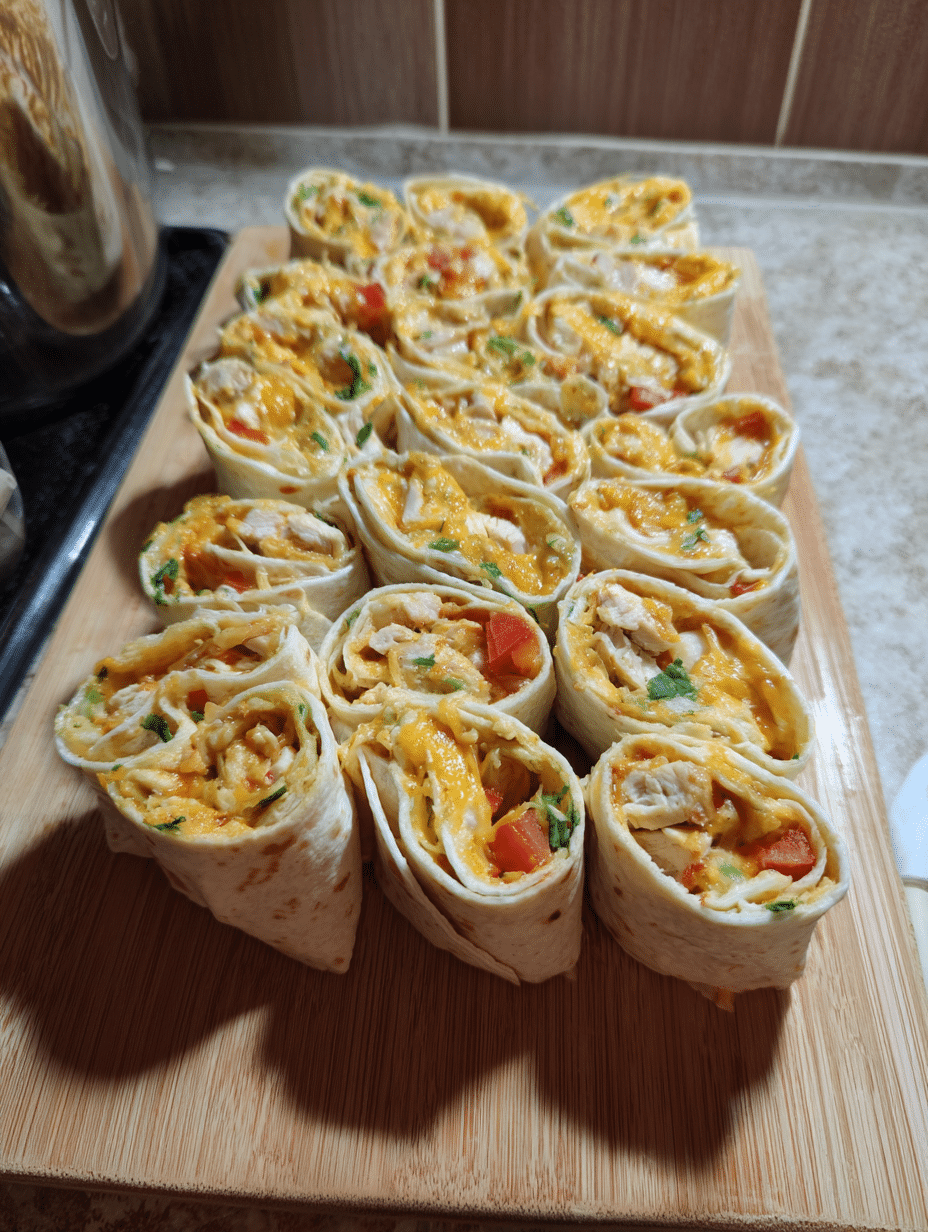
Step-by-Step Instructions for the Perfect Garlic Chicken Wrap
Step 1: The Protein Preparation
Begin by slicing your chicken breast into thin, uniform strips. Uniformity is the secret to even cooking; you want every piece to reach an internal temperature of 165°F (74°C) simultaneously. Season aggressively with salt, black pepper, and onion powder. Avoiding pre-made ‘taco’ or ‘chicken’ seasonings helps keep hidden sugars and cornstarch out of your meal.
Step 2: Searing and Garlic Infusion
Heat a cast-iron skillet over medium-high heat. Add a tablespoon of avocado oil (high smoke point). Sear the chicken until golden brown. In the final sixty seconds of cooking, drop in your minced garlic and a knob of butter. This ‘basting’ technique ensures the garlic browns and perfumes the meat without burning or becoming bitter.
Step 3: The Cheese Barrier Construction
Lay your low-carb tortilla flat. Place a thin layer of shredded cheese directly onto the wrap before adding the hot chicken. The residual heat from the chicken will melt the cheese from the bottom up, creating a ‘glue’ that prevents your wrap from falling apart during consumption.
Step 4: The Toasting (The Pro Secret)
Once filled and rolled, place the wrap back into the dry skillet seam-side down. Toast for 60 seconds per side. This ‘crunch factor’ elevates the dish from a simple cold wrap to a professional-grade hot meal. The heat also finishes the melting of the cheese, ensuring every bite is gooey and cohesive.
Frequently Asked Questions (PAA)
Can I use an Air Fryer for this?
Absolutely. If you prefer a hands-off approach, toss the seasoned chicken in the air fryer at 400°F for 10-12 minutes. Once the wrap is assembled, air fry the entire wrap for an additional 2 minutes to achieve a ‘chimichanga’ style crispness without the deep frying.
How to Boost the Protein Even Higher?
To maximize nitrogen retention and muscle synthesis, add a layer of egg white ‘crepes’ inside the wrap or double the chicken portion. Using a high-protein Greek yogurt as the base for your garlic dipping sauce can add an additional 10-15 grams of protein per serving.
What are the best Dairy-Free Swaps?
If you are avoiding dairy, substitute the butter with olive oil and use a cashew-based ‘mozzarella’ or nutritional yeast. Nutritional yeast provides that cheesy, nutty flavor profile while being entirely plant-based and rich in B-vitamins. Replace the yogurt sauce with a tahini-garlic dressing for a similar creamy texture.
Meal Prep and Storage Tips
These wraps are excellent for meal prep. To prevent sogginess, store the cooked garlic chicken and the shredded cheese in separate containers. Assemble and toast the wrap just before eating. If you must assemble them in advance, wrap them tightly in foil and reheat in an oven or air fryer rather than a microwave to maintain the structural integrity of the tortilla.
Variations (No Pork, No Alcohol)
- Beef Garlic Wraps: Substitute chicken with thinly sliced flank steak or top sirloin. Follow the same sear and garlic basting method.
- Turkey & Swiss Garlic Wraps: Use lean ground turkey or turkey breast strips paired with Swiss cheese for a nuttier, more intense flavor profile.
- Buffalo Garlic Style: Add a splash of cayenne-based hot sauce to the garlic butter for an spicy kick that complements the cooling cheese.
We hope you enjoy this high-performance meal! If you try this recipe, please leave a 5-star rating and a comment below. Don’t forget to save this to your ‘Healthy Lunch Ideas’ board on Pinterest so you always have a quick, protein-packed recipe at your fingertips!
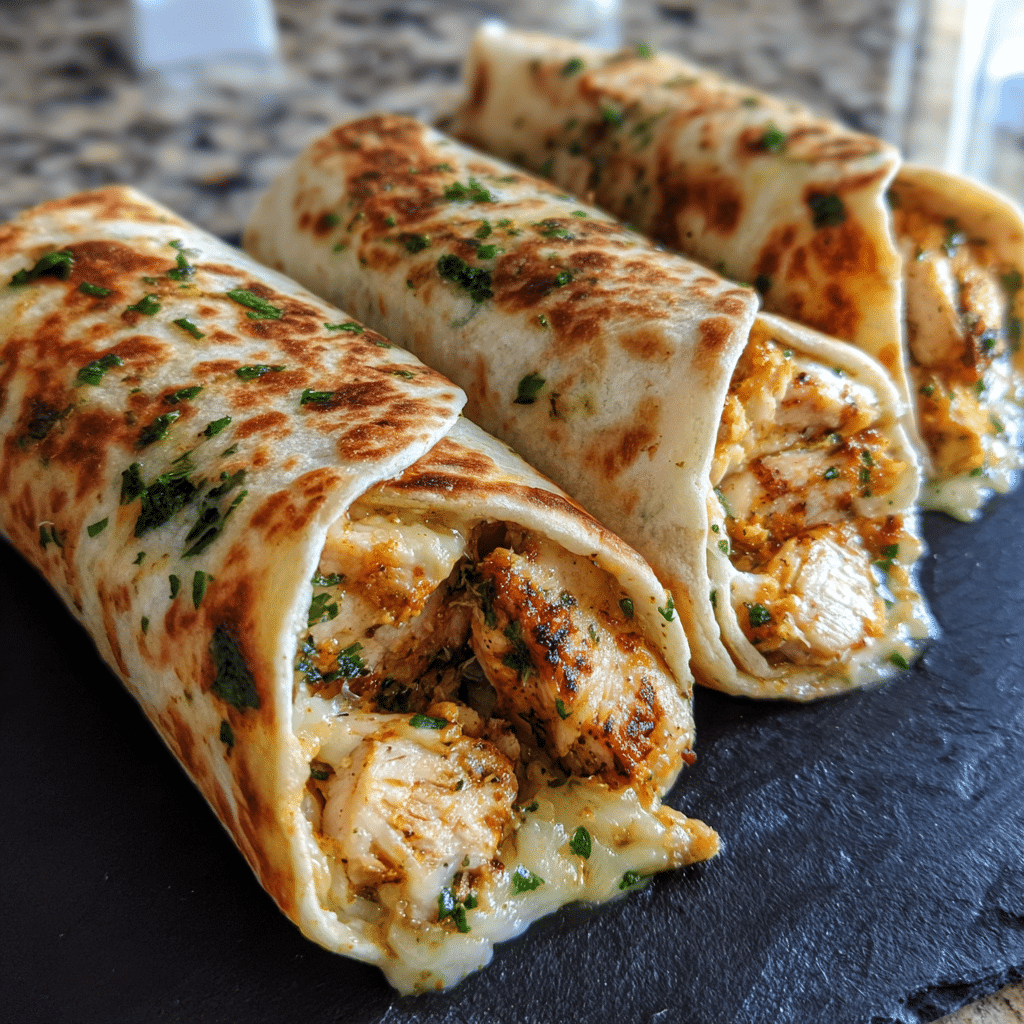
Cheesy Garlic Chicken Wraps (Ready in Minutes! Easy Lunch or Dinner Idea)
Ingredients
Method
- Season chicken breasts with salt and pepper
- Heat butter in skillet over medium heat until fragrant
- Add minced garlic and cook 1-2 minutes
- Coat chicken with butter and garlic, sear 5-7 minutes per side until golden
- Top each breast with cheese during last 2 minutes of cooking
- Warm wraps in skillet if needed
- Place seared chicken + melted cheese on wraps
- Add lettuce or spinach
- Roll tightly and serve
Notes
Swap wraps for large keto-friendly lettuce leaves if preferred
Meal prep: Wrap individually in foil and freeze for up to 3 months