There is nothing quite as timeless or elegant as a classic Strawberries and Cream Sponge Cake. Often associated with high tea and summer garden parties, this dessert relies on the delicate balance of airy textures and the natural sweetness of sun-ripened berries. Achieving that elusive ‘cloud-like’ consistency requires specific techniques, but the result is a sophisticated centerpiece that appeals to every palate.

This recipe focuses on the Genoise-style method, which utilizes the aeration of eggs rather than heavy fats to create lift. Combined with a homemade, zest-infused strawberry jam and pillowy whipped cream, this cake moves beyond a simple snack to a high-authority culinary triumph. Whether you are a seasoned baker or an ambitious novice, this guide will walk you through the science of the sponge and the secrets to a stable, luscious cream filling.
Why This Sponge Cake Works: The Science of Fluffiness
The secret to a light and fluffy sponge cake lies in the proteins of the eggs. Unlike a pound cake that relies on chemical leaveners and creamed butter, a true sponge depends on the physical expansion of air bubbles trapped within a stable egg foam. By whisking eggs and caster sugar until they reach the ‘ribbon stage,’ we create a structural web that holds the flour in suspension while it bakes.
Using melted butter adds a subtle richness without weighing down the batter, and the inclusion of fresh lemon juice in the jam provides the necessary acidity to cut through the decadence of the heavy whipping cream. This contrast of flavors and textures—the soft cake, the tart jam, and the silkiness of the cream—is what makes this recipe a perennial favorite.
Essential Tips for Success
- Room Temperature Eggs: Cold eggs do not aerate as well as those at room temperature. Ensure your eggs are out of the fridge at least an hour before starting.
- Sifting is Mandatory: To maintain the air you’ve whisked into the eggs, your flour and baking powder must be sifted. This prevents lumps and ensures the dry ingredients integrate seamlessly without over-mixing.
- The Ribbon Stage: When whisking your eggs and sugar, continue until the mixture is pale and thick enough that when you lift the whisk, the batter falling back forms a trail (or ribbon) that holds its shape for several seconds.
Ingredients and Substitutions
The Strawberry Jam
While store-bought jam can be used in a pinch, our homemade version uses 18 ounces of fresh strawberries and fresh lemon zest. This creates a bright, punchy flavor profile that industrial jams lack. If strawberries are out of season, you can substitute with high-quality frozen strawberries, though you may need to simmer them slightly longer to reduce the excess moisture.
The Sponge Base
We use all-purpose flour for a bit more structure, but for an even more tender crumb, you can substitute with cake flour. If you require a gluten-free version, a high-quality 1:1 gluten-free baking blend works well, provided it contains xanthan gum to help replicate the egg-locked structure.
Variations to Try
- Chocolate Strawberry: Sift 2 tablespoons of high-quality cocoa powder with the flour for a rich, dark contrast to the red berries.
- Vegan Alternative: Replace eggs with aquafaba (whipped chickpea brine) and use vegan butter and coconut whipped cream. Note that the texture will be denser than a traditional sponge.
- Zesty Orange: Swap the lemon zest in the jam for orange zest and add a teaspoon of orange extract to the whipped cream for a citrusy twist.
Step-by-Step Culinary Methodology
Preparing the jam first is crucial. It needs time to cool and set into a thick, spreadable consistency. Simmering the strawberries with caster sugar and lemon juice allows the natural pectins to bond, creating a glossy finish. For the sponge, the folding process is the most delicate phase. Use a large metal spoon or a silicone spatula and move in a figure-eight motion. This minimizes the risk of deflating the air bubbles you worked so hard to create.
How to Store and Serve
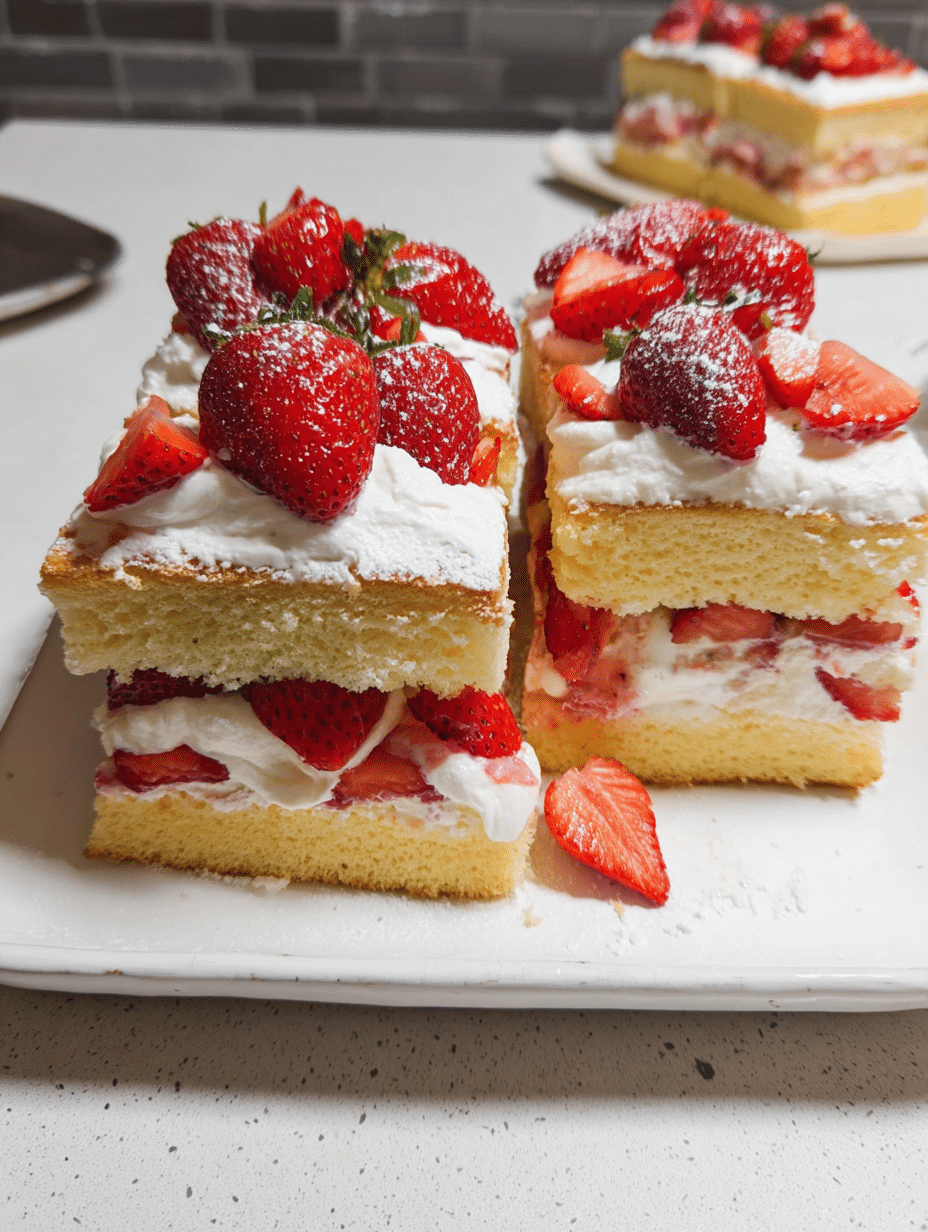
Because of the fresh cream, this cake should ideally be served shortly after assembly. However, it can be stored in an airtight container in the refrigerator for up to 24 hours. To serve, always finish with a generous dusting of icing sugar and a few reserved fresh strawberries. This not only adds visual appeal but provides a final hit of sweetness that balances the tartness of the homemade jam.
Closing Thoughts
Mastering the Light & Fluffy Strawberries and Cream Sponge Cake is a milestone for any home baker. It teaches patience, technique, and the importance of high-quality ingredients. We invite you to share your results with us—did you achieve the perfect ribbon stage? Did you add your own twist to the jam? Leave a comment below and join our community of passionate bakers.

Light & Fluffy Strawberries and Cream Sponge Cake
Ingredients
Method
- 1. Preheat oven to 350°F (175°C). Grease a 9-inch round cake pan and line the base with parchment paper.
- 2. Whisk eggs and caster sugar for the sponge until pale, thick, and the ribbon stage is achieved (mixing 8-12 minutes on high speed).
- 3. Sift flour, baking powder, and lemon zest together. Gently fold half the flour into the egg foam until incorporated, then add melted butter. Fold remaining flour in gently.
- 4. Pour the batter into the prepared pan and bake for 20-22 minutes, until golden and a toothpick comes out clean. Cool completely on a wire rack.
- 5. To make the jam: Blend strawberries with lemon juice. Simmer over medium heat, stirring frequently, until reduced to a thick jam consistency (40-45 minutes). Stir in sugar and lemon zest; cool completely.
- 6. Whip cream, caster sugar, and lemon juice until peaks form. Chill.
- 7. Once sponge is cooled, slice horizontally to create two layers. Sandwich with whipped cream and a thin layer of jam. Spread remaining jam and cream on the top and sides.