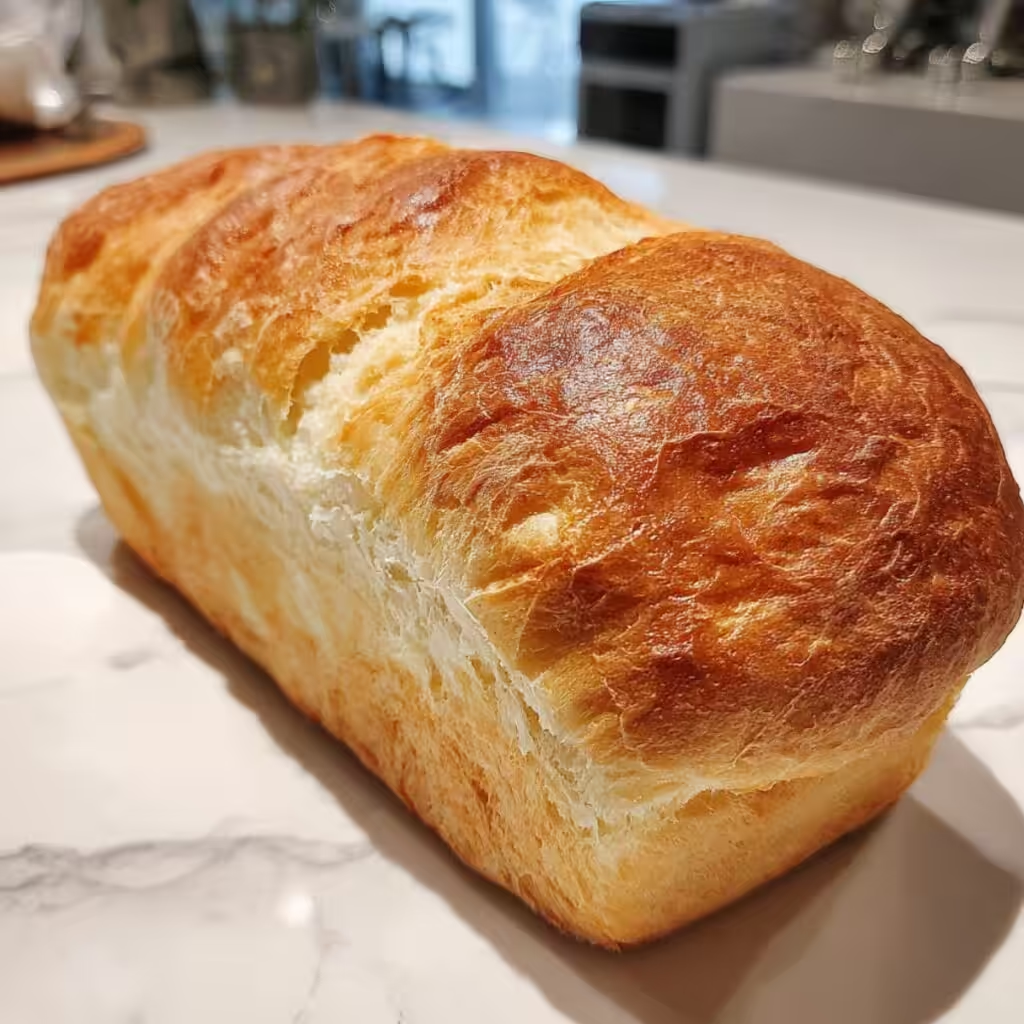
There’s nothing quite like the aroma of fresh bread filling your kitchen, especially when that loaf turns out incredibly soft, tender, and sliceable straight from the oven. This Soft & Simple White Bread | Perfect Recipe for Beginners delivers exactly that: a golden crust that gives way to a pillowy, fluffy interior with the perfect chew. No complicated equipment, no advanced skills, and no fear of failure—just straightforward steps that guarantee bakery-quality results every single time.
I’ve taught hundreds of new bakers how to master homemade bread, and this recipe is the one I recommend first. It’s gentle on beginners yet produces professional texture and flavor because we focus on the science that actually matters: proper yeast activation, gluten development, and two gentle rises. In about three hours (most of it hands-off rising time), you’ll have a loaf that stays soft for days, makes the best sandwiches, and turns everyday toast into something special.
Whether you’ve never baked bread before or you’re looking for a reliable everyday loaf, this recipe builds confidence with clear explanations, foolproof techniques, and easy troubleshooting. Let’s turn your kitchen into a bakery with the softest white bread you’ve ever made at home.
Why This Beginner White Bread Recipe Works So Well
The secret to soft, tender bread lies in three key elements. First, warm liquid (not hot!) activates instant yeast quickly and evenly, producing steady carbon dioxide bubbles that create an airy crumb. Second, a small amount of sugar feeds the yeast while butter tenderizes the gluten strands, preventing toughness. Third, kneading develops gluten—the protein network that traps gas and gives the bread its signature stretch and softness without being chewy or dense.
We use a straightforward two-rise method: one bulk rise for flavor development and one shaped rise for structure. The result? A loaf with even texture, a lightly crisp crust from the Maillard reaction during baking, and that classic white-bread pull-apart softness. No fancy bread machine or sourdough starter required—just pantry staples and a little patience. This technique has been refined over years of home testing to work in any kitchen, at any skill level.
Ingredients for the Softest White Bread
Everything here is simple, affordable, and easy to find. These quantities make one perfect 9×5-inch loaf (about 12 generous slices):
- 3½ cups all-purpose flour (plus extra for dusting)
- 2¼ teaspoons instant yeast (one standard packet)
- 1 cup warm milk (110–115°F / 43–46°C)
- 2 tablespoons granulated sugar
- 1 teaspoon fine salt
- 2 tablespoons unsalted butter, softened
- 1 tablespoon vegetable oil (for extra tenderness)
These ingredients work together beautifully. The milk and butter create richness and softness, while instant yeast eliminates the need for a separate proofing step—beginners love this simplicity.
Step-by-Step Instructions for Perfect Soft White Bread
Follow these steps exactly and your first loaf will be a success.
Step 1: Activate the Yeast
In a large mixing bowl, combine the warm milk and sugar. Sprinkle the instant yeast over the top and let it sit for 5 minutes. You’ll see a creamy foam layer—this confirms your yeast is alive and ready to work.
Step 2: Mix the Dough
Add the softened butter, oil, salt, and 2 cups of flour to the yeast mixture. Stir with a wooden spoon until a shaggy dough forms. Gradually add the remaining 1½ cups flour, ½ cup at a time, until the dough pulls away from the sides of the bowl but still feels slightly sticky.
Step 3: Knead for Soft Texture
Turn the dough onto a lightly floured surface. Knead for 8–10 minutes, using the heel of your hand to push the dough away, then fold it back. The dough should become smooth, elastic, and pass the windowpane test: stretch a small piece thin enough to see light through it without tearing. This step builds the gluten network that gives your bread its soft, chewy structure.
Step 4: First Rise (Bulk Fermentation)
Lightly oil a clean bowl, place the dough inside, and cover with a damp kitchen towel or plastic wrap. Let it rise in a warm spot (75–80°F) for 60–75 minutes until doubled in size. The dough will look puffy and feel airy—this is where flavor and texture develop.
Step 5: Shape the Loaf
Gently punch down the dough to release excess gas. On a lightly floured surface, pat it into a rectangle about 8×12 inches. Starting from the short end, roll tightly into a log. Pinch the seam and tuck the ends under. Place seam-side down in a greased 9×5-inch loaf pan.
Step 6: Second Rise
Cover the pan again and let the dough rise for 45–60 minutes until it reaches just above the rim of the pan. This final proof ensures a light, tall loaf with perfect crumb structure.
Step 7: Bake to Golden Perfection
Preheat your oven to 375°F (190°C). Bake the loaf for 28–32 minutes until the top is deep golden brown and the internal temperature reaches 190°F on a thermometer (or sounds hollow when tapped). If the top browns too quickly, tent loosely with foil after 20 minutes.
Step 8: Cool for Soft Crumb
Remove the bread from the pan immediately and cool on a wire rack for at least 30 minutes before slicing. This step is crucial—cutting too soon creates a gummy texture. The loaf will stay soft for days.
Pro Tips for Bakery-Quality Texture Every Time
- Liquid temperature is everything. Too cold and the yeast stays dormant; too hot and it dies. Use an instant-read thermometer or test on your wrist—it should feel comfortably warm.
- Kneading builds softness. Don’t skip or shorten this step. Under-kneaded dough produces dense, heavy bread; proper kneading creates the airy, tender crumb beginners dream of.
- Create a warm rising spot. If your kitchen is cool, place the bowl in an oven with just the light on or near a heating vent.
- Don’t add extra flour unless necessary. A slightly sticky dough yields a softer finished loaf. Trust the process.
- Butter and milk are the softness secret. They coat gluten strands, keeping the bread tender instead of tough.
- Test for doneness properly. Color and sound are great clues, but a thermometer removes all guesswork.
These small details separate good homemade bread from the soft, sliceable perfection you’re aiming for.
Recipe Variations to Expand Your Baking Skills
Once you master the base recipe, try these easy twists—all still beginner-friendly:
Vegan Soft White Bread
Replace milk with unsweetened almond, oat, or soy milk and use the same amount of vegetable oil or vegan butter. The texture stays incredibly soft and fluffy.
Slightly Sweeter Sandwich Bread
Increase sugar to ¼ cup and add 1 tablespoon honey (if you prefer). Perfect for peanut-butter-and-jelly or deli sandwiches.
Herb-Infused White Bread
Mix 2 teaspoons dried Italian herbs or fresh rosemary into the dough after the first cup of flour. Pairs beautifully with soups and stews.
No-Knead Overnight Version
Skip kneading and use cold milk instead. Mix everything, cover, and refrigerate overnight (up to 18 hours). Let it come to room temperature, shape, rise 45 minutes, then bake. Same soft results with almost zero effort.
Gluten-Free Adaptation
Use a 1:1 gluten-free flour blend plus 1 teaspoon xanthan gum. Expect a slightly denser but still soft loaf—great for beginners transitioning to gluten-free baking. Note: results differ from wheat bread but remain delicious.
Mini Loaves or Rolls
Divide the dough into 12 equal pieces after the first rise. Shape into rolls and bake 18–22 minutes for soft dinner rolls.
Serving Ideas and How to Use Your Soft White Bread
This loaf shines in so many ways: classic sandwiches, French toast, garlic toast (try it with our 15-minute cheesy garlic bread recipe), or simply toasted with butter and jam. Slice thick for breakfast or thin for lunchbox sandwiches. The soft texture holds up perfectly in the toaster without falling apart.
Pair it with homemade soups, pasta dishes, or salads for a complete meal. Freshly baked, it also makes wonderful homemade croutons or breadcrumbs when you have leftovers.
Storage, Make-Ahead, and Freezing Tips
Homemade white bread stays freshest when stored properly:
- Room temperature: Wrap in plastic or keep in a bread box for up to 4 days.
- Refrigerator: Not recommended—it dries out the crumb.
- Freezer: Slice the cooled loaf, wrap tightly in foil and a freezer bag, and freeze up to 3 months. Toast slices straight from frozen—no thawing needed.
Make-ahead option: Prepare the dough through the first rise, shape it, cover the pan, and refrigerate overnight. Next morning, let it warm on the counter for 30 minutes, then bake. Perfect for weekend meal prep.
Frequently Asked Questions About Soft White Bread for Beginners
Why didn’t my bread rise?
Check yeast freshness and liquid temperature. If your kitchen is cold, rising takes longer—give it extra time.
Can I use bread flour instead?
Yes! Bread flour creates a slightly taller, chewier loaf while still staying soft. All-purpose works perfectly for beginners.
My crust is too hard—how do I fix it?
Brush the top lightly with melted butter right after baking and cover with a clean towel while cooling. This softens the crust beautifully.
Can I make this in a bread machine?
Absolutely. Use the “Basic White” cycle and add ingredients in the order recommended by your machine model.
Is this recipe kid-friendly?
Yes! Kids love helping knead and shape. The soft slices are perfect for lunchboxes and picky eaters.
Ready to Bake Your First Perfect Loaf?
This Soft & Simple White Bread | Perfect Recipe for Beginners proves that homemade bread doesn’t have to be intimidating. With clear steps, reliable techniques, and a few key ingredients, you’ll create a soft, flavorful loaf that beats anything from the store.
I can’t wait to hear about your success! Please leave a comment below with your star rating, tell me which variation you tried, or share a photo of your beautiful loaf. Did the windowpane test click for you? Did you go vegan or overnight? Your stories help other beginners feel confident too.
Pin this recipe, share it with friends starting their baking journey, and explore our growing collection of easy bread and beginner-friendly recipes. Your kitchen is about to smell like a bakery—happy baking!
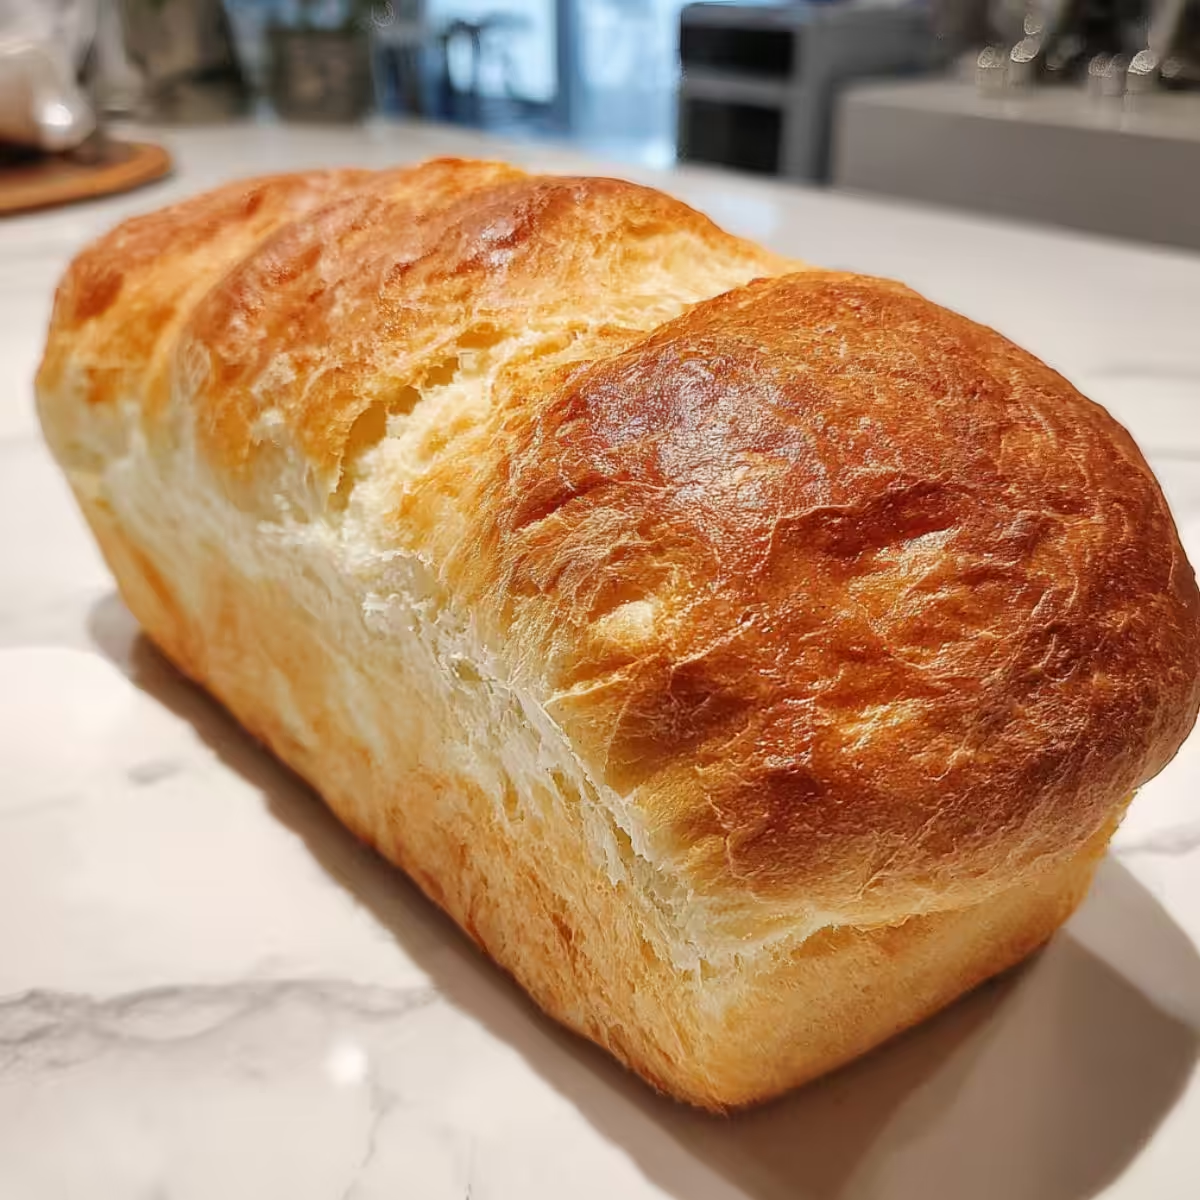

Soft & Simple White Bread | Perfect Recipe for Beginners
Ingredients
Equipment
Method
- In a large bowl, combine warm milk and sugar. Sprinkle instant yeast on top and let sit 5 minutes until foamy.
- Add softened butter, oil, salt, and 2 cups flour. Stir until shaggy. Gradually add remaining flour until dough pulls away from bowl.
- Knead on floured surface 8–10 minutes until smooth and elastic (passes windowpane test).
- Place in oiled bowl, cover, and rise 60–75 minutes until doubled.
- Punch down, roll into 8×12 rectangle, then tightly into a log. Place seam-down in greased 9×5 loaf pan.
- Cover and rise 45–60 minutes until dough reaches just above pan rim.
- Preheat oven to 375°F. Bake 28–32 minutes until golden and internal temperature reaches 190°F.
- Remove from pan and cool on wire rack at least 30 minutes before slicing.