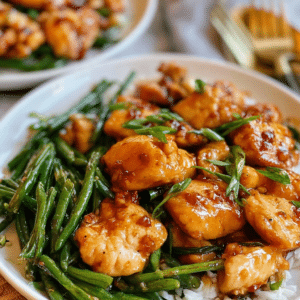
If you’ve ever pulled a tray of baked chicken breasts from the oven only to find them dry, stringy, and disappointing, you’re not alone. For years, I assumed that “baked chicken” meant sacrificing juiciness for convenience—until I discovered a simple, science‑backed approach that guarantees tender, flavorful results every single time.
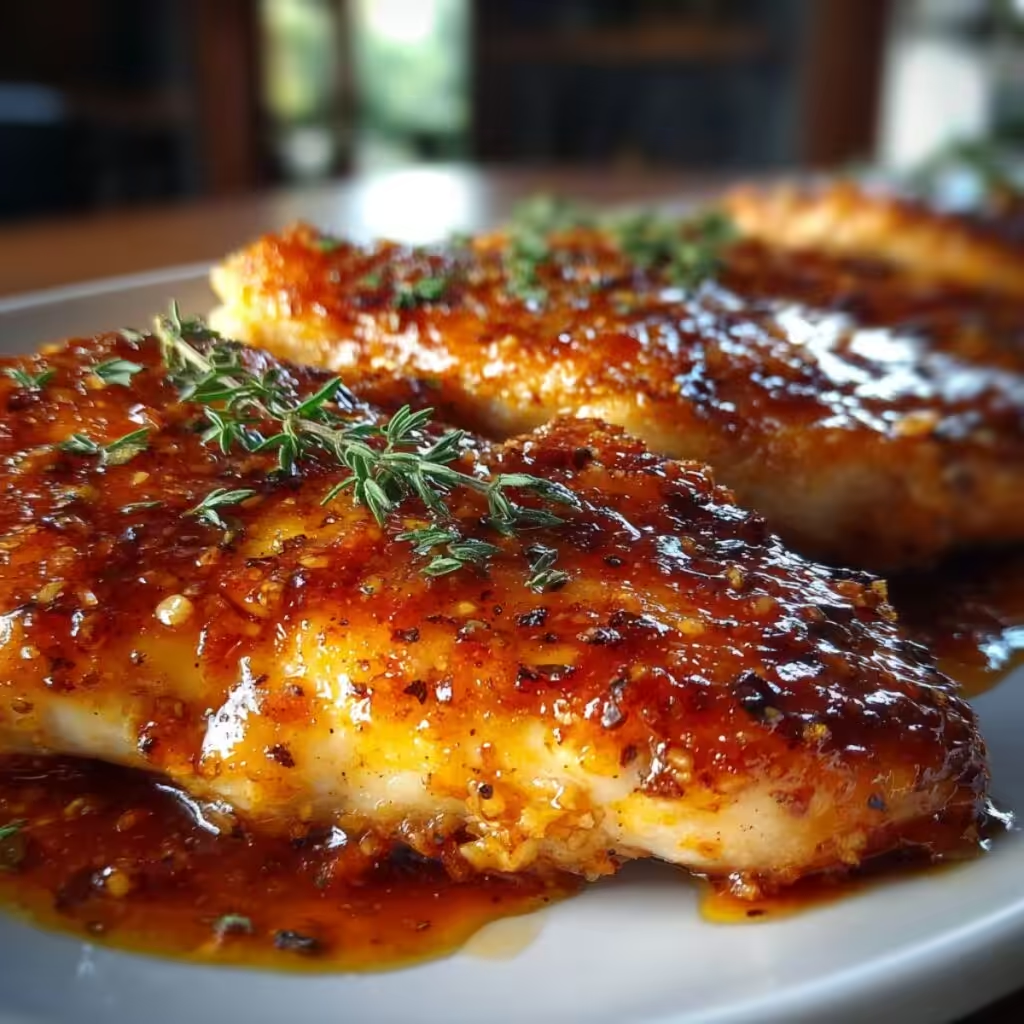
These foolproof juicy baked chicken breasts are the answer to your weeknight dinner prayers. With just a handful of pantry staples and a technique that takes all the guesswork out of baking, you’ll produce chicken that’s succulent enough to serve company yet easy enough for a Tuesday night. The secret lies in a few crucial steps: a quick brine (or dry brine), pounding to an even thickness, and a hot oven that locks in moisture while developing a golden‑brown crust.
In this guide, I’ll walk you through everything you need to know—from the science of moisture retention to creative seasoning variations—so you can confidently bake chicken breasts that are juicy, flavorful, and anything but boring.
The Secret to Foolproof Juicy Baked Chicken Breasts
Baking chicken breasts seems straightforward, but three common mistakes lead to dryness: uneven thickness, insufficient seasoning, and overcooking. Let’s break down how to solve each one.
Why Brining (or Dry Brining) Works
The most reliable way to guarantee a moist chicken breast is to introduce extra moisture and salt before baking. Salt helps the meat retain its natural juices by denaturing proteins, allowing them to hold onto water during cooking.
Wet brine: Dissolve ¼ cup of salt in 4 cups of water, submerge the chicken for 30 minutes to 2 hours, then rinse and pat dry. This infuses moisture deep into the meat.
Dry brine (my preferred method): Simply salt the chicken breasts generously and let them rest in the refrigerator for at least 30 minutes (or up to 24 hours). The salt draws out moisture, then re‑absorbs it along with the seasoning, concentrating flavor without adding extra liquid.
Both methods work, but dry brining is easier and results in a firmer texture perfect for baking.
The Importance of Even Thickness
Chicken breasts are naturally shaped like teardrops—thin at one end, thick at the other. If baked as‑is, the thin end will overcook and dry out before the thick center reaches a safe temperature. The fix: gently pound the thicker portion with a meat mallet or rolling pin until the entire breast is a uniform ½‑ to ¾‑inch thickness. This small step alone eliminates 90% of dryness issues.
High Heat vs. Low and Slow
For juicy baked chicken breasts, a moderate‑high oven temperature—between 400°F and 425°F—strikes the perfect balance. It sears the exterior quickly, trapping juices inside, while cooking the interior through before it has time to dry out. I bake at 425°F for about 15–20 minutes, depending on thickness.
Always use an instant‑read thermometer. Remove the chicken when it reaches 160°F; residual heat will carry it to the safe 165°F as it rests. Resting for 5–10 minutes is non‑negotiable—it allows juices to redistribute so they stay in the meat, not on the cutting board.
Ingredients for Foolproof Juicy Baked Chicken Breasts
You only need a few simple ingredients to create a base recipe that’s endlessly adaptable.
- 4 boneless, skinless chicken breasts (6–8 oz each)
- 2 tablespoons olive oil or avocado oil
- 1 teaspoon kosher salt (or more if not brining)
- ½ teaspoon black pepper
- Optional seasonings: garlic powder, onion powder, paprika, dried herbs
The oil helps the seasonings adhere and promotes even browning. If you’re dry brining, apply the salt ahead of time; add other seasonings just before baking.
Step-by-Step Foolproof Method
1. Prep the Chicken
- If dry brining, pat chicken dry, season with salt, and place on a wire rack over a baking sheet. Refrigerate uncovered for at least 30 minutes or up to 24 hours.
- If not brining, simply pat chicken dry with paper towels.
2. Bring to Room Temperature
- Remove chicken from the refrigerator 20 minutes before baking to ensure even cooking.
3. Pound to Even Thickness
- Place chicken between two sheets of plastic wrap or parchment paper. Use a meat mallet or heavy skillet to gently pound the thick ends until the entire breast is uniform (about ½–¾ inch).
4. Season and Oil
- Rub chicken with olive oil, then sprinkle with pepper and any additional seasonings (garlic powder, paprika, etc.). If you dry brined, go easy on extra salt.
5. Bake
- Preheat oven to 425°F (220°C). Place chicken on a rimmed baking sheet lined with parchment or foil for easy cleanup. Arrange them with space between each breast.
- Bake for 15–20 minutes, depending on thickness. Start checking temperature at the 12‑minute mark. For thinner breasts (½ inch), 12–14 minutes may be sufficient; for thicker ones, up to 20 minutes.
6. Check Temperature
- Insert an instant‑read thermometer into the thickest part. At 160°F, remove the chicken from the oven.
7. Rest and Serve
- Transfer chicken to a clean cutting board or platter and tent loosely with foil. Rest for 5–10 minutes before slicing. The temperature will rise to 165°F.
That’s it. Perfectly juicy baked chicken breasts, every time.
Variations & Flavor Ideas
Once you’ve mastered the basic technique, you can transform the chicken with different spice blends and simple additions.
Lemon Herb
- Mix 1 tablespoon fresh lemon zest, 2 minced garlic cloves, 1 teaspoon dried oregano, and ½ teaspoon dried thyme into the olive oil before rubbing onto chicken. Garnish with fresh parsley after baking.
Garlic Parmesan
- After rubbing with oil, sprinkle with ½ cup finely grated Parmesan cheese, 1 teaspoon garlic powder, and 1 teaspoon dried basil. The cheese creates a crisp, golden crust.
Smoky BBQ
- Combine 1 tablespoon smoked paprika, 1 teaspoon brown sugar, 1 teaspoon garlic powder, and ½ teaspoon cayenne (optional). Rub onto chicken. After baking, brush with your favorite barbecue sauce during the last 2 minutes.
Spicy Cajun
- Use 1½ tablespoons Cajun seasoning (store‑bought or homemade) mixed with the oil. Serve with a cooling yogurt‑based sauce if desired.
Italian
- Combine 1 tablespoon Italian seasoning, 2 minced garlic cloves, and ½ teaspoon red pepper flakes with the olive oil. Top with fresh mozzarella during the last 3 minutes of baking for an Italian‑style baked chicken.
Substitutions for Dietary Needs
These foolproof juicy baked chicken breasts are naturally gluten‑free and can be adapted for other restrictions.
- Dairy‑Free: All variations are dairy‑free except the Garlic Parmesan. Simply omit the cheese or use a dairy‑free Parmesan alternative.
- Gluten‑Free: No modifications needed, but always verify that any spice blends or barbecue sauce are certified gluten‑free.
- Low‑Sodium: Reduce or eliminate added salt. Skip the brine and rely on fresh herbs, citrus, and no‑salt seasonings for flavor.
- Nut‑Free: No nuts are used in this recipe. If using pre‑made spice blends, check labels for cross‑contamination.
What to Serve with Baked Chicken Breasts
These juicy chicken breasts pair with almost any side. Here are a few quick ideas:
- Roasted vegetables: Toss broccoli, asparagus, or green beans with olive oil, salt, and pepper, and roast alongside the chicken (add them to the pan halfway through).
- Grains: Serve over fluffy rice, quinoa, or farro.
- Salads: Slice the chicken over a bed of greens with your favorite vinaigrette.
- Mashed potatoes: Classic comfort food that soaks up any juices.
- Pasta: Toss with olive oil, lemon, and fresh herbs for a light accompaniment.
Storage and Reheating Tips
Refrigeration
- Store leftover chicken in an airtight container for up to 4 days.
Freezing
- Place cooled chicken in a freezer‑safe bag or wrap individually in plastic wrap, then foil. Freeze for up to 3 months. Thaw overnight in the refrigerator before reheating.
Reheating
- Oven: Place chicken in a baking dish with a splash of broth or water, cover with foil, and warm at 325°F for 10–15 minutes.
- Skillet: Heat a little oil or broth over medium‑low, add chicken, cover, and warm until heated through.
- Microwave: Use 50% power in 30‑second bursts to avoid overcooking.
Frequently Asked Questions
How do I know when baked chicken breasts are done?
The only reliable method is using an instant‑read thermometer. The chicken is safe and perfectly juicy when it reaches 165°F. Relying on visual cues like “clear juices” often leads to overcooking.
Can I use bone‑in, skin‑on chicken breasts with this method?
Yes. Bone‑in breasts take longer (about 35–40 minutes at 425°F). Season under the skin as well as on top, and bake until a thermometer inserted near the bone reads 165°F.
Why do my baked chicken breasts come out dry even when I use a thermometer?
Two common culprits: uneven thickness (pound them!) and skipping the rest time. Always let the meat rest for at least 5 minutes after cooking.
Can I bake chicken breasts from frozen?
It’s not ideal because the outside will dry out before the center thaws. If you must, increase baking time by 50% and use a thermometer to confirm doneness.
What’s the best temperature to bake chicken breasts?
425°F is my sweet spot—it’s hot enough to create a nice crust but not so hot that the exterior burns before the interior cooks.
Your Turn to Bake Perfect Chicken
Armed with these techniques and variations, you’ll never have to settle for dry, boring baked chicken again. Whether you’re meal prepping for the week or whipping up a quick family dinner, this foolproof method gives you juicy, flavorful chicken every time.
I’d love to hear how it turns out for you. Drop a comment below with your favorite seasoning blend or any questions—your feedback helps other home cooks discover their own foolproof approach. And if you found this guide helpful, please consider leaving a rating to help others find this recipe.
Happy cooking!
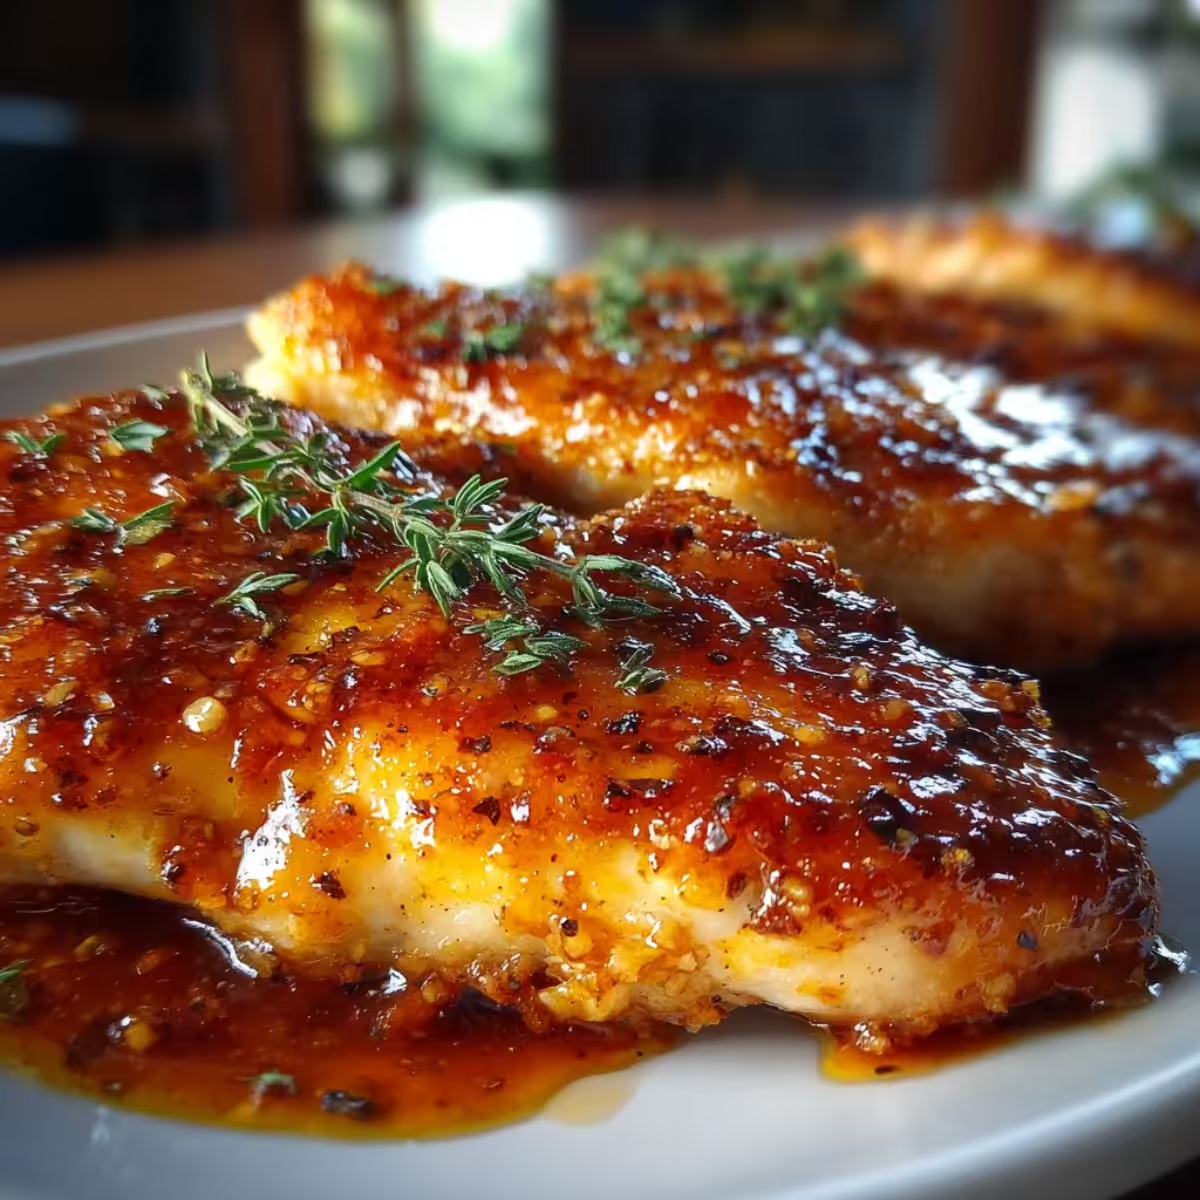

Foolproof Juicy Baked Chicken Breasts
Ingredients
Equipment
Method
- If dry brining, pat chicken dry, season generously with salt, and place on a wire rack over a baking sheet. Refrigerate uncovered for at least 30 minutes or up to 24 hours. If not brining, proceed to step 2.
- Remove chicken from the refrigerator 20 minutes before baking. Preheat oven to 425°F (220°C). Line a rimmed baking sheet with parchment paper or foil.
- Place chicken between two sheets of plastic wrap or parchment. Use a meat mallet or heavy skillet to gently pound the thicker ends until the entire breast is an even ½- to ¾-inch thickness.
- Rub chicken with olive oil, then sprinkle with pepper and any optional seasonings (garlic powder, paprika, etc.). If you dry brined, use no additional salt.
- Arrange chicken on the prepared baking sheet with space between each breast. Bake for 15–20 minutes, depending on thickness.
- Insert an instant-read thermometer into the thickest part of a breast. Remove from oven when it reaches 160°F.
- Transfer chicken to a clean cutting board or platter. Tent loosely with foil and let rest for 5–10 minutes before slicing. The temperature will rise to 165°F during resting.
- Serve warm with your favorite sides.