In the world of low-carb and keto-friendly snacking, few items hold as much power as the humble dill pickle. When you are looking for that satisfying, salty crunch that keeps your macros in check while providing a burst of refreshing flavor, homemade refrigerator pickles are the gold standard. Unlike shelf-stable canned versions that can sometimes become soft due to the high-heat processing of a water bath, these no-bake easy refrigerator dill pickles maintain a snappy, firm texture that makes them the perfect snack idea for anyone prioritizing health and efficiency.
This recipe is designed for the modern, health-conscious cook who values prep speed without sacrificing the science of flavor. By skipping the fermentation or boiling process for the vegetables themselves, we preserve the structural integrity of the cucumber’s cellular walls. The result? A pickle that provides a loud, satisfying crunch every time you take a bite. Whether you are following a strict ketogenic diet, looking for high-protein meal prep sides, or simply want a clean-label snack free from artificial dyes and preservatives, this guide will walk you through the chemistry, the technique, and the variations of the perfect refrigerator pickle.
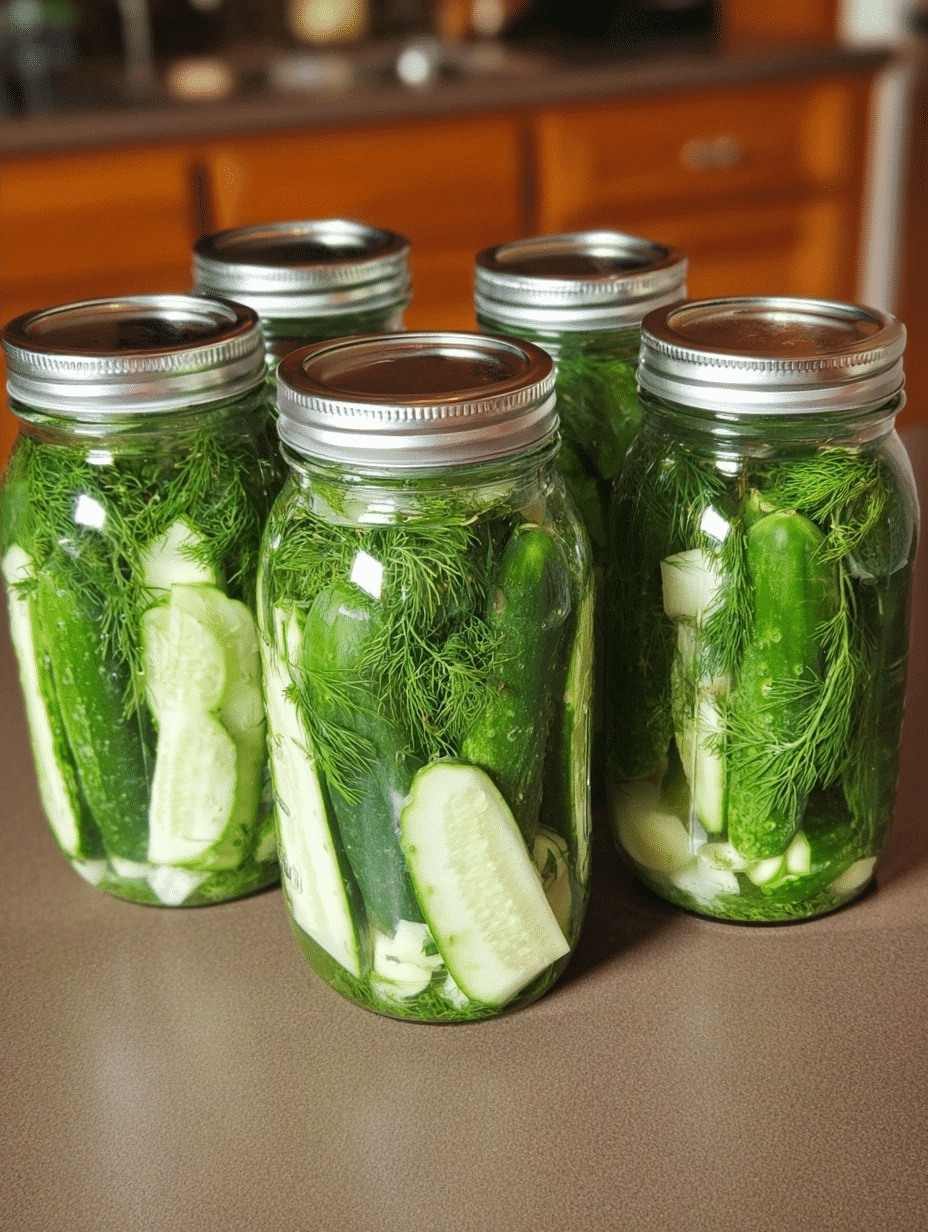
Why Refrigerator Pickles are the Perfect Keto Snack
For those focused on a low-carbohydrate lifestyle, finding snacks that are virtually calorie-free yet highly satisfying is the key to long-term success. One of the primary benefits of these pickles is their ability to replenish electrolytes. When you reduce carb intake, your body exfiltrates water and salt more rapidly; the high sodium content in the brine, combined with the potassium found naturally in pickling cucumbers, helps manage the “keto flu” and keeps your energy levels stable.
Furthermore, these pickles are 100% pork-free and alcohol-free, making them a safe and healthy choice for families and those with specific dietary restrictions. There is no need for specialized canning equipment or hours spent over a boiling pot. This is efficient cooking at its finest—maximum flavor with minimal heat exposure.
The Science of the Crunch: Ingredient Breakdown
1. Pickling Cucumbers (Kirby or Persian)
The variety of cucumber you choose is the single most important factor in your success. Standard “English” or “Slicing” cucumbers have thick, waxy skins and high water content, which leads to a mushy pickle. We use pickling cucumbers (often called Kirby cucumbers) because they have thinner skins and a denser interior. The smaller seed cavity means less moisture release, ensuring the brine can penetrate without breaking down the structure.
2. The Brine: Vinegar to Water Ratio
Our ratio of 2 parts water to 1 part white vinegar is the “golden ratio” for refrigerator pickles. Using white vinegar provides a sharp, clean acidity that highlights the dill and garlic. Unlike apple cider vinegar, which adds a fruity sweetness, white vinegar keeps the snack crisp and neutral. The acidity acts as a natural preservative, inhibiting bacterial growth while breaking down the cucumber’s toughness just enough to allow spices to enter the flesh.
3. Kosher Salt and the Osmosis Factor
Salt isn’t just for flavor; it’s a structural tool. We use kosher salt because it lacks the anti-caking agents and iodine found in table salt, which can turn your brine cloudy or give the pickles a metallic aftertaste. Through the process of osmosis, the salt draws out some of the internal moisture of the cucumber and replaces it with the aromatic brine, effectively “curing” the vegetable while maintaining its snap.
4. Garlic and Peppercorns: The Flavor Anchors
Smashing the garlic cloves rather than mincing them is a deliberate choice. Smashing breaks the cell walls to release allicin—the compound responsible for that pungent garlic aroma—without overloading the jar with tiny bits of garlic that would eventually turn bitter. Black peppercorns provide a slow-crawling heat that balances the cooling effect of the fresh dill.
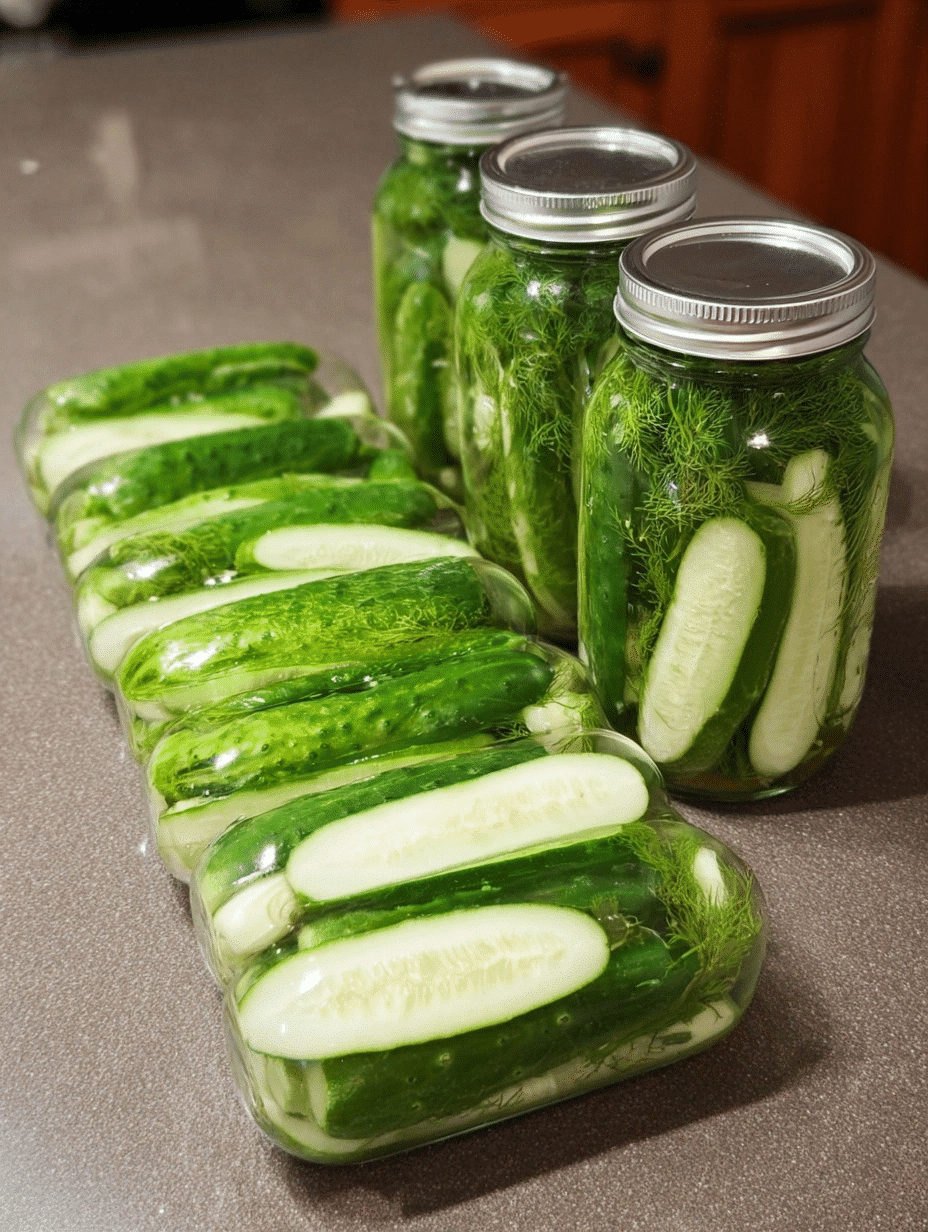
Step-by-Step Instructions for Maximum Crunch
Preparing the Cucumbers
Begin by washing your cucumbers in ice-cold water. This “shocks” the vegetables and helps firm them up before they ever touch the brine. A crucial pro-tip: trim 1/8th of an inch off the blossom end of the cucumber. The blossom end contains enzymes that can cause softening; removing it is a simple step that guarantees a better shelf life and a firmer bite.
Constructing the Jars
Place your aromatics at the bottom of clean, glass wide-mouth jars. Distribute the fresh dill (thick stems removed), the smashed garlic cloves, and the peppercorns evenly. By placing these at the bottom, they are trapped under the weight of the cucumbers, ensuring they stay submerged and maximize their infusion into the liquid. Pack the cucumber spears or slices as tightly as possible; the less oxygen in the jar, the better the preservation.
Mixing the Brine
In a medium pot, combine the water, white vinegar, kosher salt, and the small amount of sugar. While some keto-purists avoid sugar entirely, the one teaspoon used here is distributed across multiple jars and primarily serves to balance the high acidity of the vinegar rather than provide sweetness. It acts as a flavor bridge. Whisk over medium heat just until the salt and sugar dissolve. You do NOT need to boil this for a long time. Once dissolved, let the brine cool slightly before pouring over the cucumbers to avoid “cooking” them and losing that sought-after crunch.
People Also Ask
Can I Make This Without Sugar?
Absolutely. If you are following a strict zero-carb protocol, you can omit the teaspoon of sugar entirely or replace it with a pinch of monk fruit sweetener. However, the sugar in this recipe is so minimal per serving that it generally does not impact ketosis. It is there to replicate the classic “deli-style” profile found in high-end artisanal pickles.
How Do I Increase the Protein?
While pickles themselves are low in protein, they serve as the perfect vehicle for high-protein snacks. Try wrapping a dill pickle spear in a slice of high-quality lean roast beef or turkey breast with a thin layer of cream cheese. This creates a “pickle roll-up” that is a staple for keto meal prep, offering high protein, healthy fats, and that signature crunch.
How Long Do Refrigerator Pickles Last?
Because these are not processed in a water bath for shelf stability, they must stay refrigerated. They will be ready to eat in as little as 24 hours, but their flavor peaks around day 5 to 7. They remain safe and delicious for up to 4 to 6 weeks, though they are usually eaten long before then!
Variations for the Bold Snack Enthusiast
- Spicy Refrigerator Pickles: Add 2-3 dried red chili flakes or a sliced fresh jalapeño to each jar. The capsaicin will infuse into the brine, creating a heat that builds with every bite.
- Mustard Seed Dill: Add 1 tablespoon of yellow mustard seeds to the brine for a deeper, more earthy flavor profile that pairs excellently with grilled beef burgers.
- Onion Infusion: Add thinly sliced red onions to the jar. Not only do the onions flavor the pickles, but you also end up with delicious pickled onions to use on salads.
Conclusion and Pinterest Inspiration
Creating your own no-bake easy refrigerator dill pickles is a rewarding way to take control of your nutrition. You avoid the hidden sugars and preservatives found in grocery store aisles while mastering a culinary skill that takes less than 20 minutes of active work. These pickles are the ultimate crunchy snack idea—refreshing, keto-friendly, and packed with traditional flavor.
If you loved this recipe, please leave a 5-star rating and a comment below detailing your favorite way to eat them! Don’t forget to save this to your “Keto Snack Ideas” or “Healthy Meal Prep” boards on Pinterest so you always have the recipe on hand for your next grocery haul. Happy pickling!

No-Bake Easy Refrigerator Dill Pickles | Crunchy Snack Ideas
Ingredients
Method
- Rinse cucumbers and pat dry
- Dice garlic and dill for easy brine distribution
- Combine vinegar, water, salt, dill, garlic, and peppers in a large jar
- Submerge cucumbers completely with weights (glass jar lid, plastic wrap, or clean stone)
- Refrigerate for at least 4 hours (24+ for peak tanginess)
Notes
Best when stored in airtight jars for 2-3 weeks
Add lemon slices or onions for fun variations